Post-Production Podcast Process: Step-by-step
Do you know what the hardest part of podcasting is? No, its not finding topics or interviewees. No, its not the actual recording itself. It’s dealing with post-production process. Long, tedious, and technical. Yet, this part can also add significant value if done right.
In my journey with podcasting, I’m creating a series of blog posts documenting my decisions and processes. The first of this series deals with the issue that caused me the most issues. Nothing has required more energy than the post production process – going from recording to live. Here are the steps I go through.
Convert and edit file formats
Since I’m using WebEx to video call and record the interview, it saves the file in MP4 format by default. Excellent for uploading to YouTube, since they except MP4. However, MP4 is not acceptable for audio only podcasting, which often uses MP3 (among other formats). After some quick research on how to convert MP4 to MP3, I found that downloading the free software Audicity and adding the FFmpeg library, I could open MP4 files and then export as MP3.
While I have Camtasia Studio for editing video, I haven’t used it yet for the podcasts. I made the decision to keep the recordings unedited to save time in post-production. I’m just one man doing this with no budget. If the podcast becomes more popular, I may add editing to the process to improve the quality.
Write detailed description
After getting the files in the best format, I watch the recording again so that I can take notes and write up a description of the key podcast take-aways. I don’t take notes during the interview so that I can focus 100% of my attention on what the interviewee is saying.
When writing the description, I include key words that may be searched by potential viewers. SEO is on my mind. I also include links to items I want to promote, whether its the interviewee’s website or my book. Either way, I want the description to be useful to the subscribers/listeners.
Create thumbnails
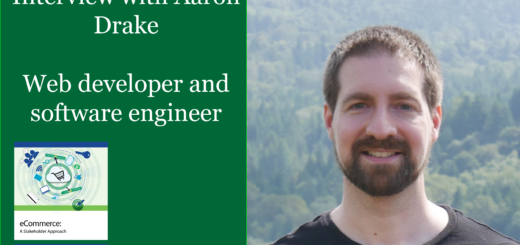
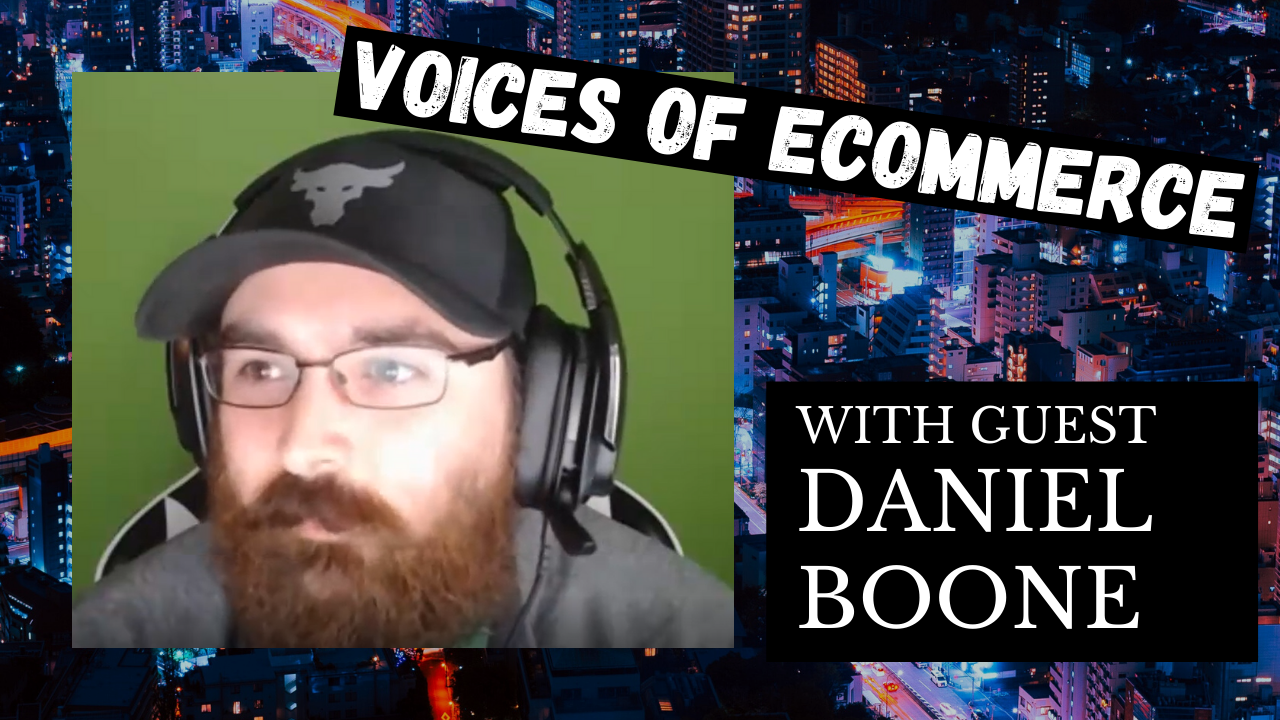
Thumbnail images are useful for the overall audio podcast and for specific episodes on YouTube. Since I’m focusing on the post-production process, that limits this discussion to the YouTube thumbnail. While I could just use a screenshot from the recording, I liked the idea of customizing my own. I first started doing this with Adobe Illustrator and Photoshop. But during my second episode, I became disillusioned with this process because of the complexity of these two apps and my lack of knowledge in graphic design.
After a quick search, I found a solution – canva.com – a free graphic editing app that covers all my basic needs. I used this app to create my third podcast thumbnail (see below). You’ll notice that I include photo of the interviewee in the thumbnail. From each interviewee, I request a headshot or selfie photo. If they don’t have one, I take a screenshot during the recording and use that instead.
Create and schedule new YouTube video
Next up, I upload the MP4 file to YouTube Studio. Many of the elements are plugged in, including the description and thumbnail created previously. I schedule the release of the videos every two weeks. This gives me time to fix any outstanding issues (like incomplete descriptions) and to ensure regular content is released. I especially like this because I can batch the interviews over a few days, then release them regularly even if busy with other things.
Create and schedule new audio podcast on BuzzSprout
Similar to the video version, the MP3 file is uploaded to BuzzSprout podcasting platform with accompanying description. I don’t provide a separate thumbnail for each episode, although that option exists. I schedule the audio version to go live at the same time the video version goes live. Fortunately, BuzzSprout syndicates these episodes to the various podcasting platforms without any additional effort on my part. So as soon as it goes live on BuzzSprout, the episode appears on Apple Podcasts, Spotify, and iHeartRadio.
Create blog post with new podcast
I also create a blog post for each episode (episode 1 and 2). Fortunately, both YouTube and BuzzSprout include permanent links for scheduled content, meaning I can embedded these links in my blog post prior to publication. Then I can schedule the blog post to release shortly after the video and audio version go live and everything should work.
Promote podcast on social media
After the scheduled release, I market the episode on Facebook and LinkedIn. I’m still in the experimental stage to see which link posted to which outlet produces the best results – YouTube, blog post, or audio link. My guess is that YouTube will ultimately be most successful because it reduces the clicks necessary to watch an episode.
Moving forward
Ideally, each step in the post-production podcast process should add value, making the podcast better and better. Part of my reason for identifying this process is so I can review which parts I can automate, which parts I can delegate, and which parts I want to do myself. Working through this process the first few times has helped me think through my best path forward. If it can generate income, I can use it to enhance the process further.